Video editing used to be one of those skills that demanded hours of learning, expensive software, and a powerful computer. Today, that’s changing. AI-powered platforms like Runway are making professional-looking edits accessible to almost anyone, whether you’re creating YouTube videos, Instagram Reels, marketing content, or short films.
What makes Runway stand out isn’t just that it uses artificial intelligence, it’s how naturally AI fits into the editing process. Instead of replacing creativity, it removes repetitive tasks so you can focus on storytelling.
In this guide, you’ll learn how to use Runway for video editing from start to finish, along with practical tips that help you produce better videos in less time.
What you can do with Runway
Removing backgrounds
Erasing unwanted objects
Generating videos from text prompts
Tracking moving subjects
Creating cinematic effects
Upscaling video quality
Since it works directly in your browser, there’s no need to install heavy editing software.
Why So Many Creators Are Switching to Runway
The biggest advantage isn’t that Runway has AI. It’s that the AI actually saves time. Instead of spending thirty minutes masking a person frame by frame, Runway can often accomplish the same job in seconds.
Here are a few reasons creators enjoy using it:
Beginner-friendly interface
Fast cloud rendering
AI-powered editing tools
Professional export quality
Works on Windows, macOS, and Chromebooks
No expensive editing workstation required
Whether you’re editing TikTok clips or commercial videos, the workflow feels surprisingly approachable.
Step 1: Create a Runway Account
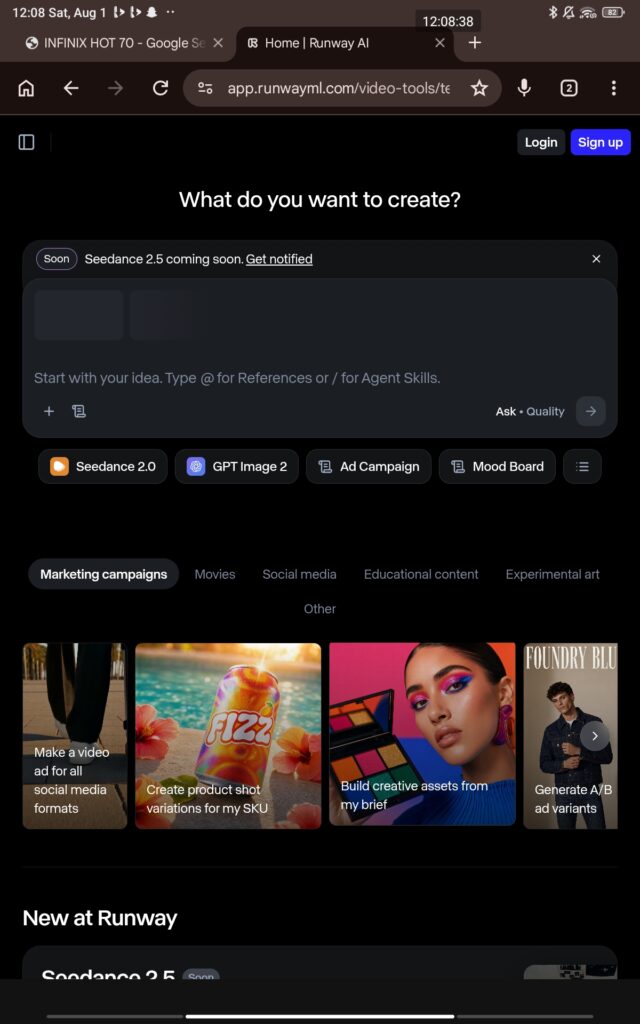
Visit Runway’s official website and sign up using your Google account or email address. Once inside your dashboard, you’ll see options for creating AI videos, editing existing footage, and exploring various creative tools.
If you’re new, start with a blank project.
Step 2: Upload Your Video
Click New Project and upload your footage. Runway supports common video formats, including:
MP4
MOV
AVI
WEBM
After uploading, your clip appears on the editing timeline where you can trim, rearrange, and enhance it. Cloud processing means upload speed depends mostly on your internet connection rather than your computer’s hardware.
Step 3: Trim and Arrange Your Clips
Just like traditional editing software, you can:
Cut unwanted sections
Split clips
Rearrange scenes
Adjust timing
Duplicate clips
A simple timeline keeps everything organized without overwhelming first-time users.
Step 4: Use AI Background Removal
One of Runway’s signature features is background removal. Instead of setting up a green screen, you simply select the subject, and the AI automatically separates it from the background.
This is especially useful for:
Product demonstrations
Talking-head YouTube videos
Educational content
Social media ads
You can replace the background with:
Images
Videos
Solid colors
AI-generated environments
Step 5: Remove Unwanted Objects
Ever noticed someone walking into your shot or an object ruining an otherwise perfect scene? Runway includes an AI-powered erase tool that lets you paint over distractions. The software analyzes surrounding frames and fills the area naturally.
Common uses include:
Removing microphones
Erasing logos
Cleaning messy backgrounds
Eliminating random pedestrians
Removing wires or equipment
It’s not perfect in every situation, but for many clips, the results are remarkably convincing.
Step 6: Add AI Effects
Runway offers a growing collection of creative AI effects that would normally require advanced editing experience.
You can:
Stylize videos
Apply cinematic looks
Generate motion graphics
Create artistic transformations
Produce animation-like visuals
Instead of downloading multiple plugins, most effects are available directly inside the editor.
Step 7: Generate Video with AI
One of Runway’s most talked-about capabilities is text-to-video generation. Describe a scene in plain language, and the AI creates a short video based on your prompt.
For example:
“A futuristic city at sunset with flying cars and glowing skyscrapers.”
Within minutes, you’ll have an original AI-generated clip that can be used in presentations, advertisements, or creative storytelling. Many creators combine generated footage with real-world video to produce unique visual experiences.
Step 8: Improve Audio
Good visuals matter, but viewers often notice poor audio first. Runway lets you:
Add music
Record voiceovers
Include sound effects
Synchronize audio with video
If your original recording contains background noise, pairing Runway with dedicated AI audio tools can significantly improve overall quality.
Step 9: Add Titles and Captions
Captions are increasingly important because many people watch videos with the sound turned off.
Runway allows you to:
Insert titles
Add subtitles
Customize fonts
Change colors
Animate text
Well-designed captions improve both accessibility and viewer retention.
Step 10: Export Your Video
When everything looks right, click Export. Depending on your subscription, you’ll be able to choose different resolutions, including:
720p
1080p
4K (where available)
Since rendering happens in the cloud, you don’t need a high-end graphics card to export professional-quality videos.
Helpful Tips for Better Results
AI can speed up editing, but thoughtful planning still makes the biggest difference.
A few habits that consistently improve results include:
Shoot stable footage whenever possible.
Use good lighting to help AI recognize subjects accurately.
Keep prompts detailed when generating videos.
Review AI edits manually before exporting.
Save project versions while experimenting.
Runway works well for many different creators, including:
YouTubers
Content creators
Marketing teams
Small business owners
Social media managers
Students
Freelance video editorsFilmmakers
If your workflow involves frequent video production, the time savings can quickly add up.
Pros and Cons
Pros
Beginner-friendly interface
Powerful AI editing features
Browser-based workflow
Fast rendering
Excellent for social media content
Frequent feature updates
Cons
Some advanced tools require a paid plan
AI-generated results may occasionally need manual adjustments
Cloud editing depends on a stable internet connection
Very long projects can take more time to process
Final Thoughts
Runway has changed what modern video editing looks like. Instead of spending hours on repetitive technical tasks, creators can devote more energy to ideas, pacing, and storytelling. Features like background removal, object erasing, AI-generated footage, and automated effects lower the barrier for beginners while still offering enough flexibility for experienced editors.
If you’re looking for a faster way to produce polished videos without mastering complex editing software, Runway is well worth exploring. Start with a simple project, experiment with its AI tools, and gradually build your workflow. As the platform continues to evolve, it’s becoming one of the most practical options for creators who want professional results with less effort.